This article provides an overview of the 'My Coach' screen, which is to be used by team members. For the counterpart 'My Team' screen (to be used by team leaders), more information can be found here.
How do you access the 'My Coach' List?
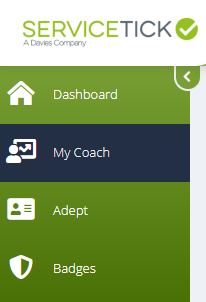
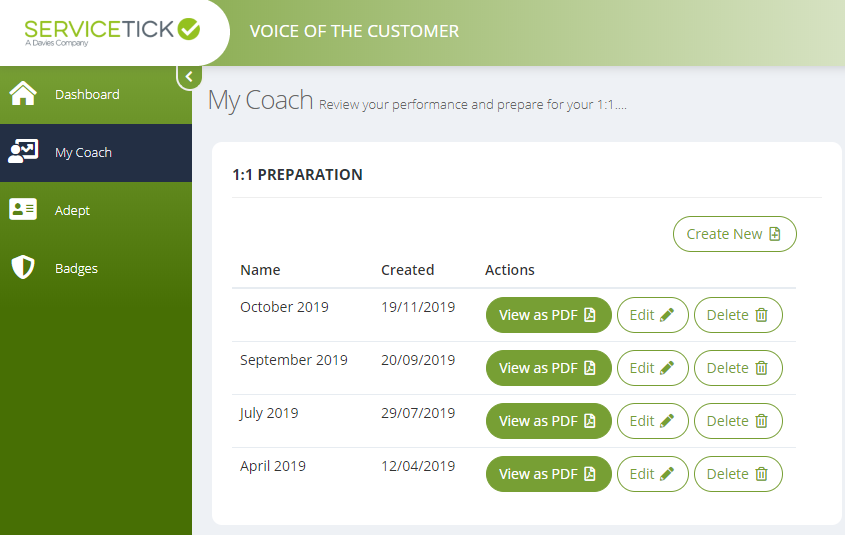
The 'My Coach' screen can be accessed from anywhere in the console, by clicking on the 'My Coach' item in the side menu:
What can you do on the 'My Coach' screen?
This screen enables team members to create documents they can use for 1:1s with their manager.
When the screen first loads this is what you will see:
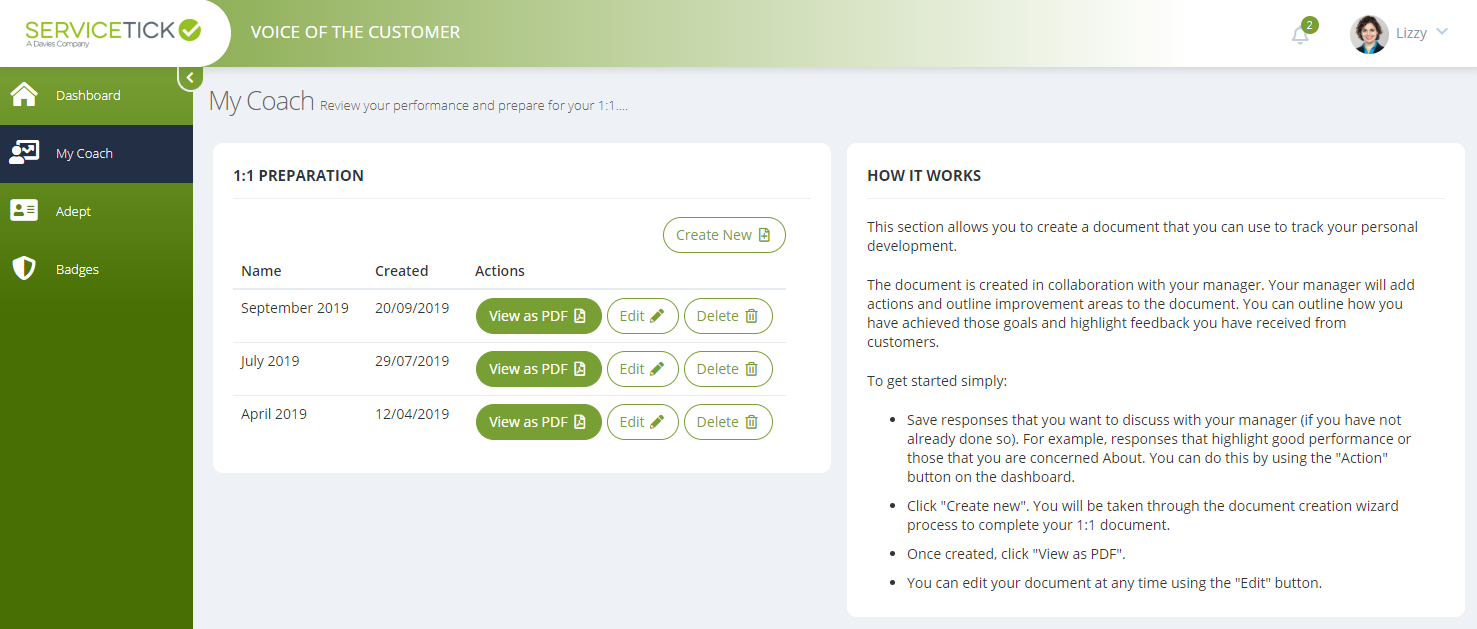
The left-hand pane lists all of the 1:1 documents that you have previously created, and you can click the 'Create New' button to start making a new one.
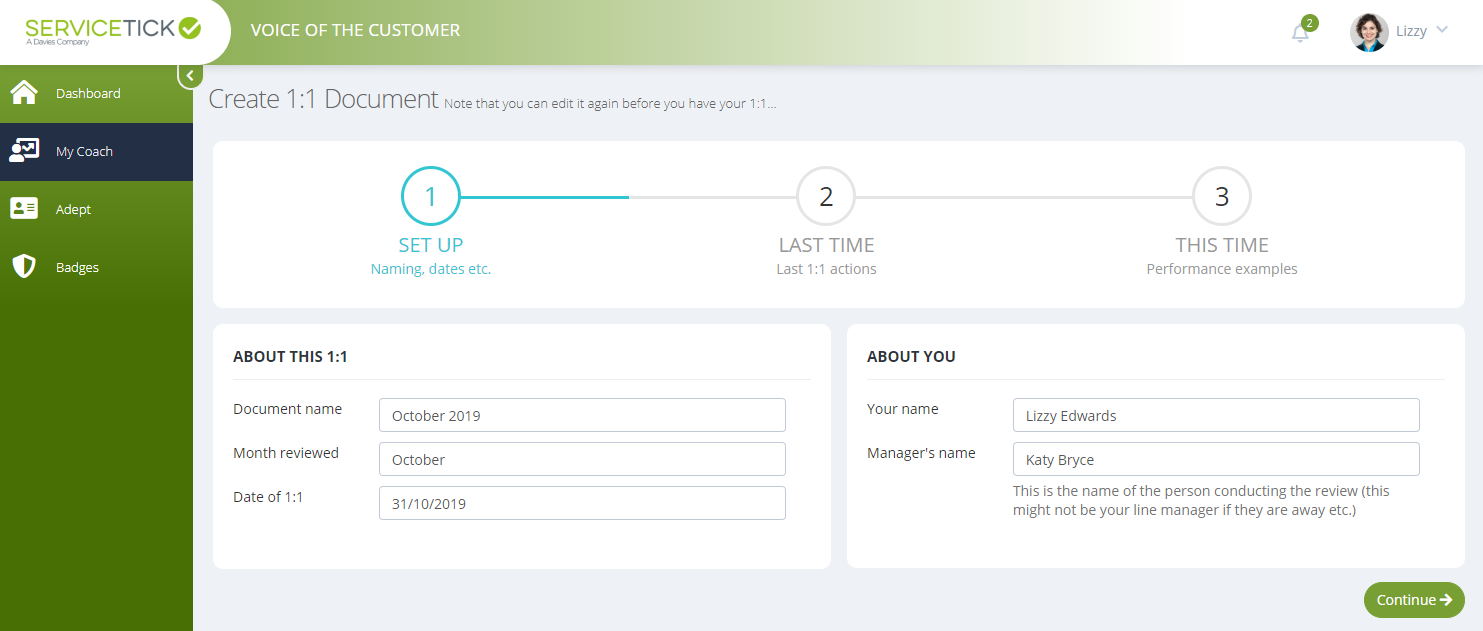
1:1 Document Creation - Step 1
The first screen when creating a new 1:1 document allows you to enter a document name, which month (or time frame) is being reviewed and the date the meeting is scheduled for. The right-hand pane will auto-populate with your name and your manager's name:
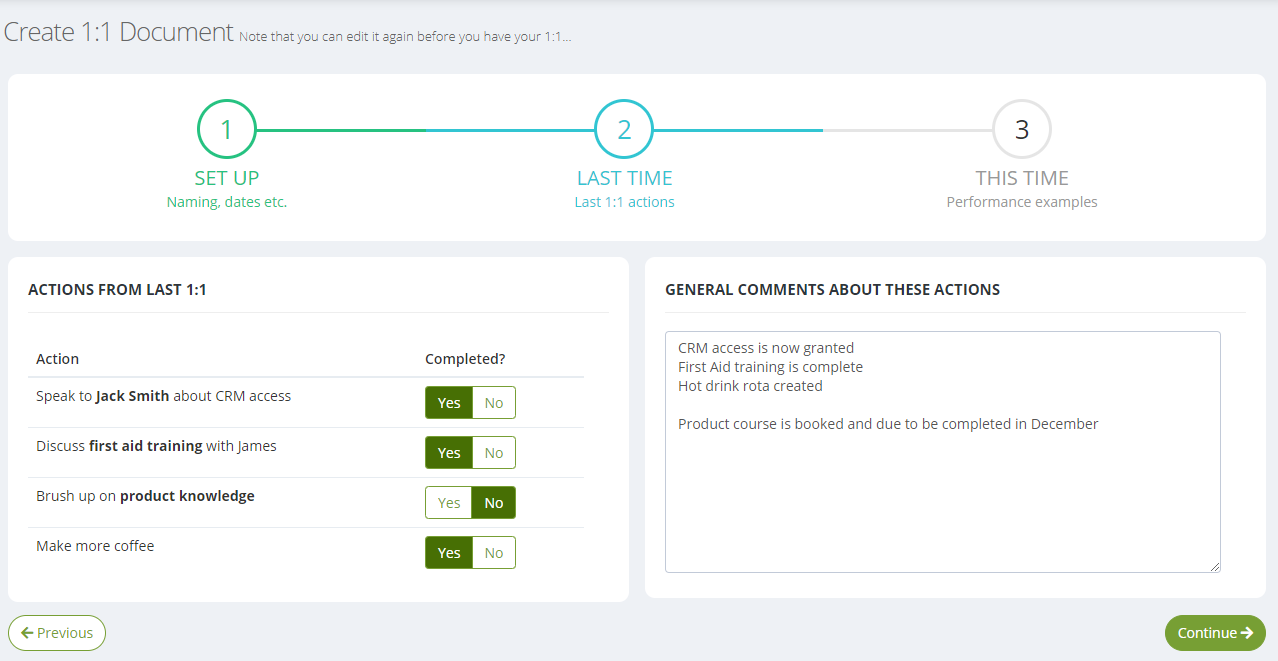
1:1 Document Creation - Step 2
The second step allows you to reflect on the 1:1 actions that were agreed at your previous meeting. These will have been entered by your manager and will appear on the left-hand side of the page. For each one you can choose whether or not it has been completed, and also include some additional comments if necessary via the text box on the right-hand side of the page:
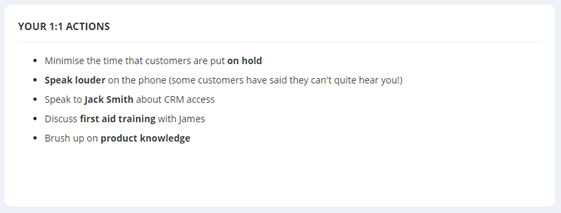
These 1:1 actions can also be visible on your Dashboard if your organisation utilise the 1:1 Actions widget:
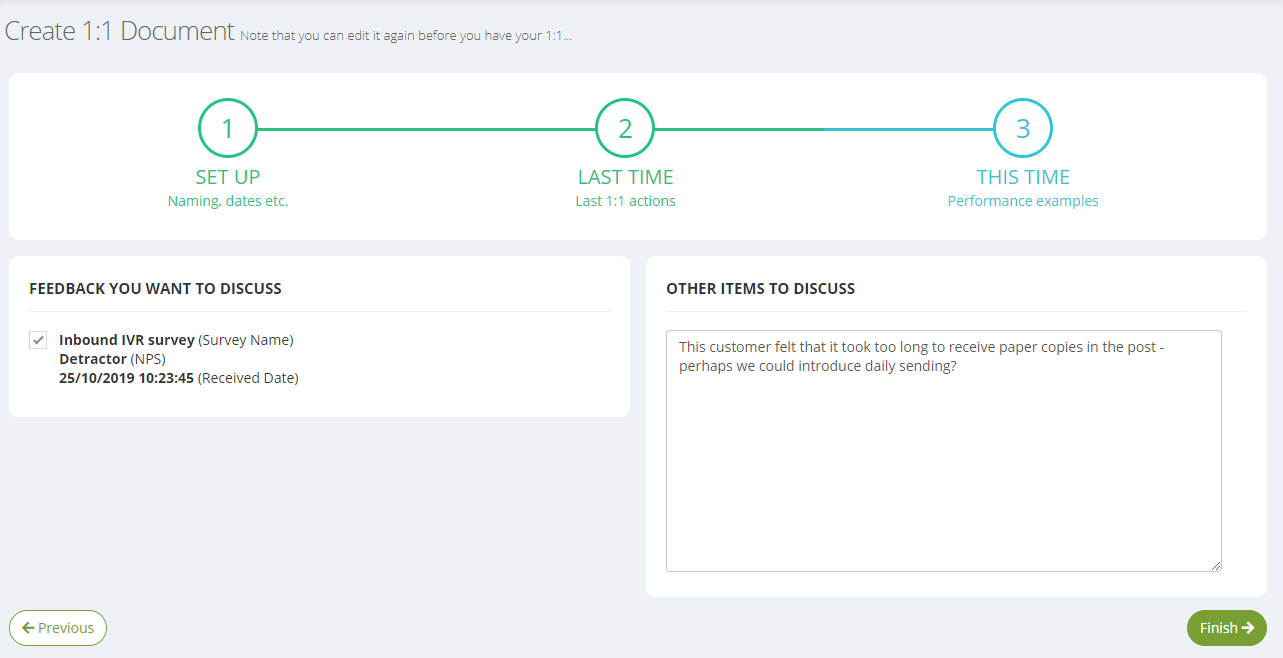
1:1 Document Creation - Step 3
The final step allows you to include particular survey responses that you would like to discuss. This screen will pull through all responses that you have saved using the Feedback widget on the Dashboard. You can also add any comments using the box on the right-hand side of the page:
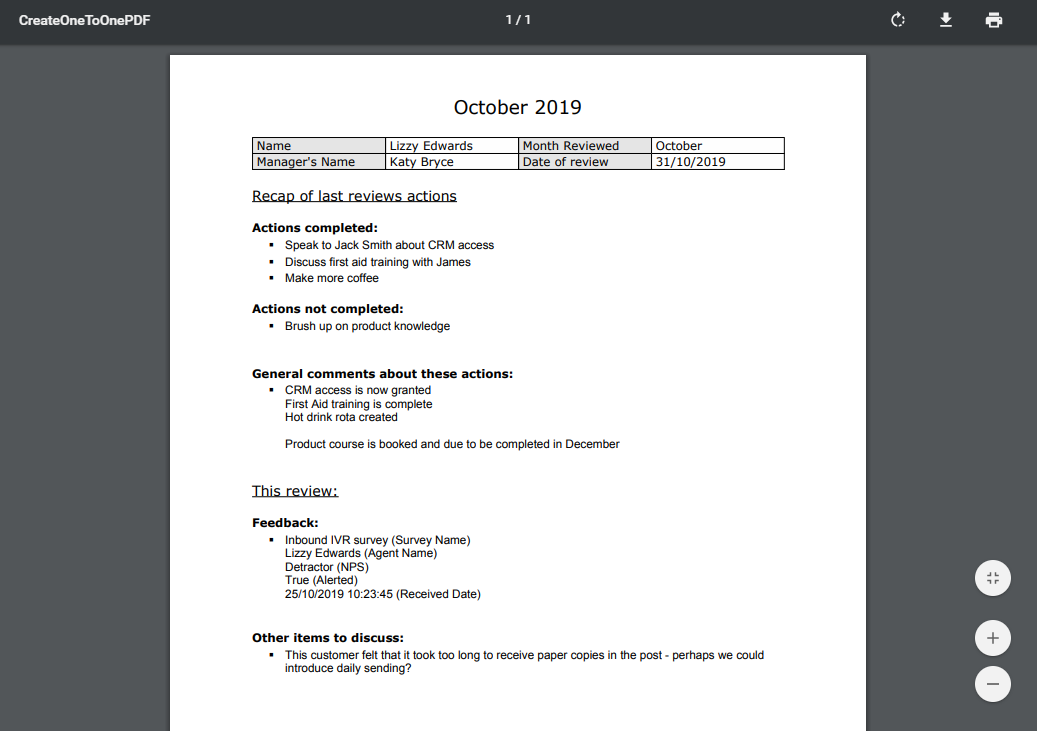
Click 'Finish' and you will be taken back to the main page, with your new 1:1 document presented in the list:
Next to each 1:1 document, you will find three buttons:
The ![]() button will load the document in a PDF viewer within your browser. From here you can download or print it:
button will load the document in a PDF viewer within your browser. From here you can download or print it:
Clicking ![]() will load the document configuration screens (the three steps outlined above), where you can change the document.
will load the document configuration screens (the three steps outlined above), where you can change the document.
And clicking the ![]() button will delete the document.
button will delete the document.
Ready to put this into practice?
![]()
Comments
0 comments
Please sign in to leave a comment.