This article provides an overview of the 'My Team' screen, which is to be used by team leaders. For the counterpart 'My Coach' screen (to be used by team members), more information can be found here.
How do you access the 'My Team' List?
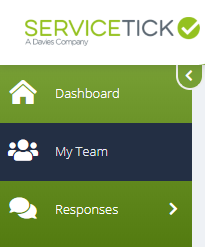
The 'My Team' screen can be accessed from anywhere in the console, by clicking on the 'My Team' item in the side menu:
What can you do on the 'My Team' screen?
This screen enables team leaders to:
- Monitor KPI performance for each member of their team
- View the Badges their team members have earned
- Award their team with Badges
- View the 1:1 documents they have created
- Assign their team members with 1:1 actions
When the screen first loads this is what you will see:
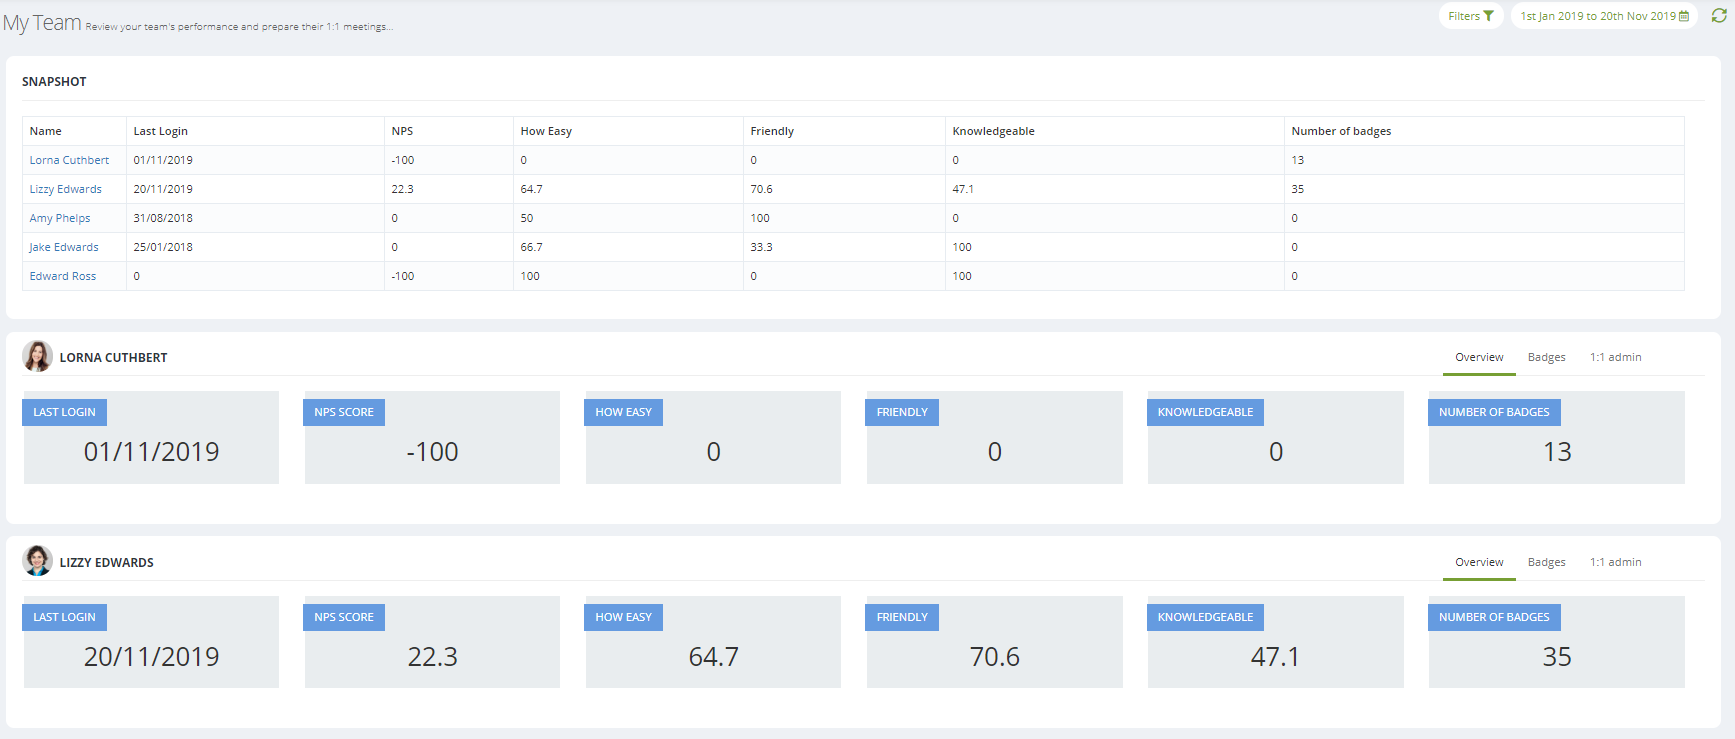
At the top of the page, there is a Snapshot table. This provides a summary of each team member's performance against your configured KPIs.
Below this, you will find individual sections for each of your team members, each one comprising three tabs which can be navigated using the buttons on the right-hand side of each pane:
![]()
The first tab is 'Overview', which shows the same KPI scores as seen in the Snapshot table, for the team member in question:

The second tab is 'Badges'. Using this tab, team leaders can see the Badges that the team member has earned (if your Organisation utilises our Badges functionality). You can also award badges using the 'Give Badge' button (more information on how to do this can be found here).

The third tab is '1:1 Admin', and this can be used to manage your team members' 1:1 actions and documents:
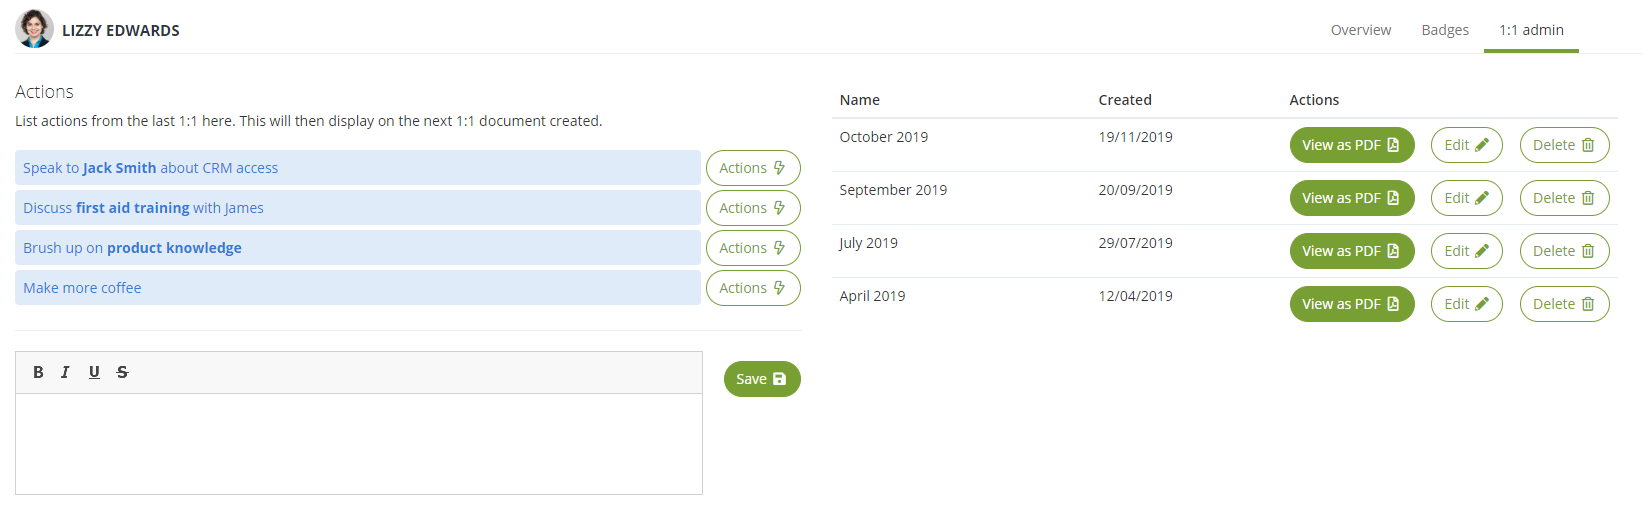
After you have held a 1:1 meeting with a team member, you can use the left-hand side to make note of any agreed actions. This can be done by typing in the text box and clicking 'Save':

Then, when the next 1:1 meeting comes around, the team member will create a new 1:1 document and, as part of the process, indicate which actions have been achieved.
After your meeting, you can mark actions as completed by clicking the 'Actions' button next to them, and choosing 'Mark as complete':

The right-hand side of this pane can be used to view the 1:1 documents themselves.
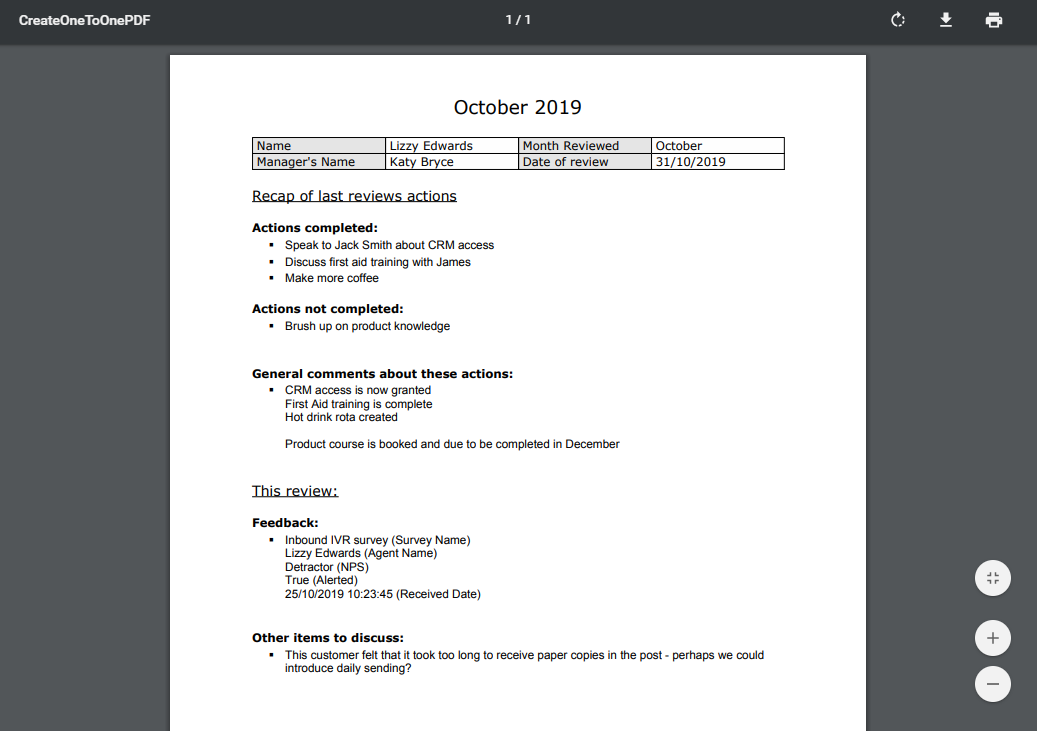
The ![]() button will load the document in a PDF viewer within your browser. From here you can download or print it:
button will load the document in a PDF viewer within your browser. From here you can download or print it:
Clicking ![]() will load the document configuration screens (the three steps outlined above), where you can change the document.
will load the document configuration screens (the three steps outlined above), where you can change the document.
And clicking the ![]() button will delete the document.
button will delete the document.
Ready to put this into practice?
![]()
Comments
0 comments
Please sign in to leave a comment.